If you are dealing with painful, itchy, or irritated skin after shaving, you are probably looking for a practical answer to one question: how do you get rid of razor bumps? These small raised bumps can be uncomfortable, frustrating, and persistent, especially when they keep coming back after every shave. The good news is that razor bumps can often improve with the right care, better shaving habits, and a more consistent skin routine.
Razor bumps usually happen when shaved hairs curl back into the skin or becomes trapped beneath the surface. This can trigger inflammation, redness, tenderness, and bumps that may resemble acne. In some cases, the area may also become darkened, swollen, or infected if the irritation continues.
If you want to know how to get rid of razor bumps, the key is to calm the current irritation while also preventing the same problem from happening again.
Step 1: Stop Making the Area More Irritated
The first step is to avoid further irritation. If possible, stop shaving the affected area for a short time. Continuing to shave over inflamed skin can make the bumps worse, increase discomfort, and create more ingrown hairs.
Even a short break from shaving can give the skin time to recover. This is especially important if the bumps are painful or visibly inflamed. If you must shave, try to be as gentle as possible and avoid going over the irritated area repeatedly.
Step 2: Clean the Skin Gently
Keeping the area clean is important, but harsh cleansing can make razor bumps worse. Use a mild cleanser and lukewarm water to wash the skin gently. Avoid rough washcloths, aggressive scrubbing, or strong exfoliants when the area is already irritated.
The goal is to remove sweat, oil, and debris without damaging the skin barrier. Clean skin supports healing, but over-cleansing can add to the inflammation.
Step 3: Use Warm Compresses
A warm compress can help soften the skin and may encourage trapped hairs to rise closer to the surface. This can be especially helpful when razor bumps are caused by ingrown hairs.
Apply a clean, warm cloth to the area for a few minutes at a time. The warmth can help reduce tightness and make the skin feel more comfortable. This is a simple step, but it can be very useful when done consistently.
Step 4: Avoid Picking, Squeezing, or Digging at the Bumps
It can be tempting to pick at razor bumps, especially if you think you can free a trapped hair. But squeezing, scratching, or digging at the skin often causes more harm than good. It can lead to bleeding, infection, scarring, and dark marks that last longer than the original bump.
If a hair is deeply trapped, forcing it out at home may worsen the irritation. In most cases, it is better to let the skin calm down naturally and avoid making the area more inflamed.
Step 5: Support Healing With Gentle Skin Care
Once the skin is clean, focus on soothing it. A gentle moisturizer can help reduce dryness and support the skin barrier. Skin that is hydrated and protected is usually better able to recover from irritation.
Avoid products that sting, burn, or contain strong fragrance if your skin is already inflamed. Simple, calming skin care is usually more helpful than harsh treatments during an active flare-up.
Step 6: Use Careful Exfoliation if Needed
In some cases, gentle exfoliation can help remove dead skin that may be trapping hairs beneath the surface. This should be done carefully and only when the skin is not severely irritated.
The purpose of exfoliation is to support normal skin turnover, not to scrub the bumps away. Over-exfoliating can damage the skin barrier and make razor bumps worse. If you choose to exfoliate, keep it gentle and infrequent.
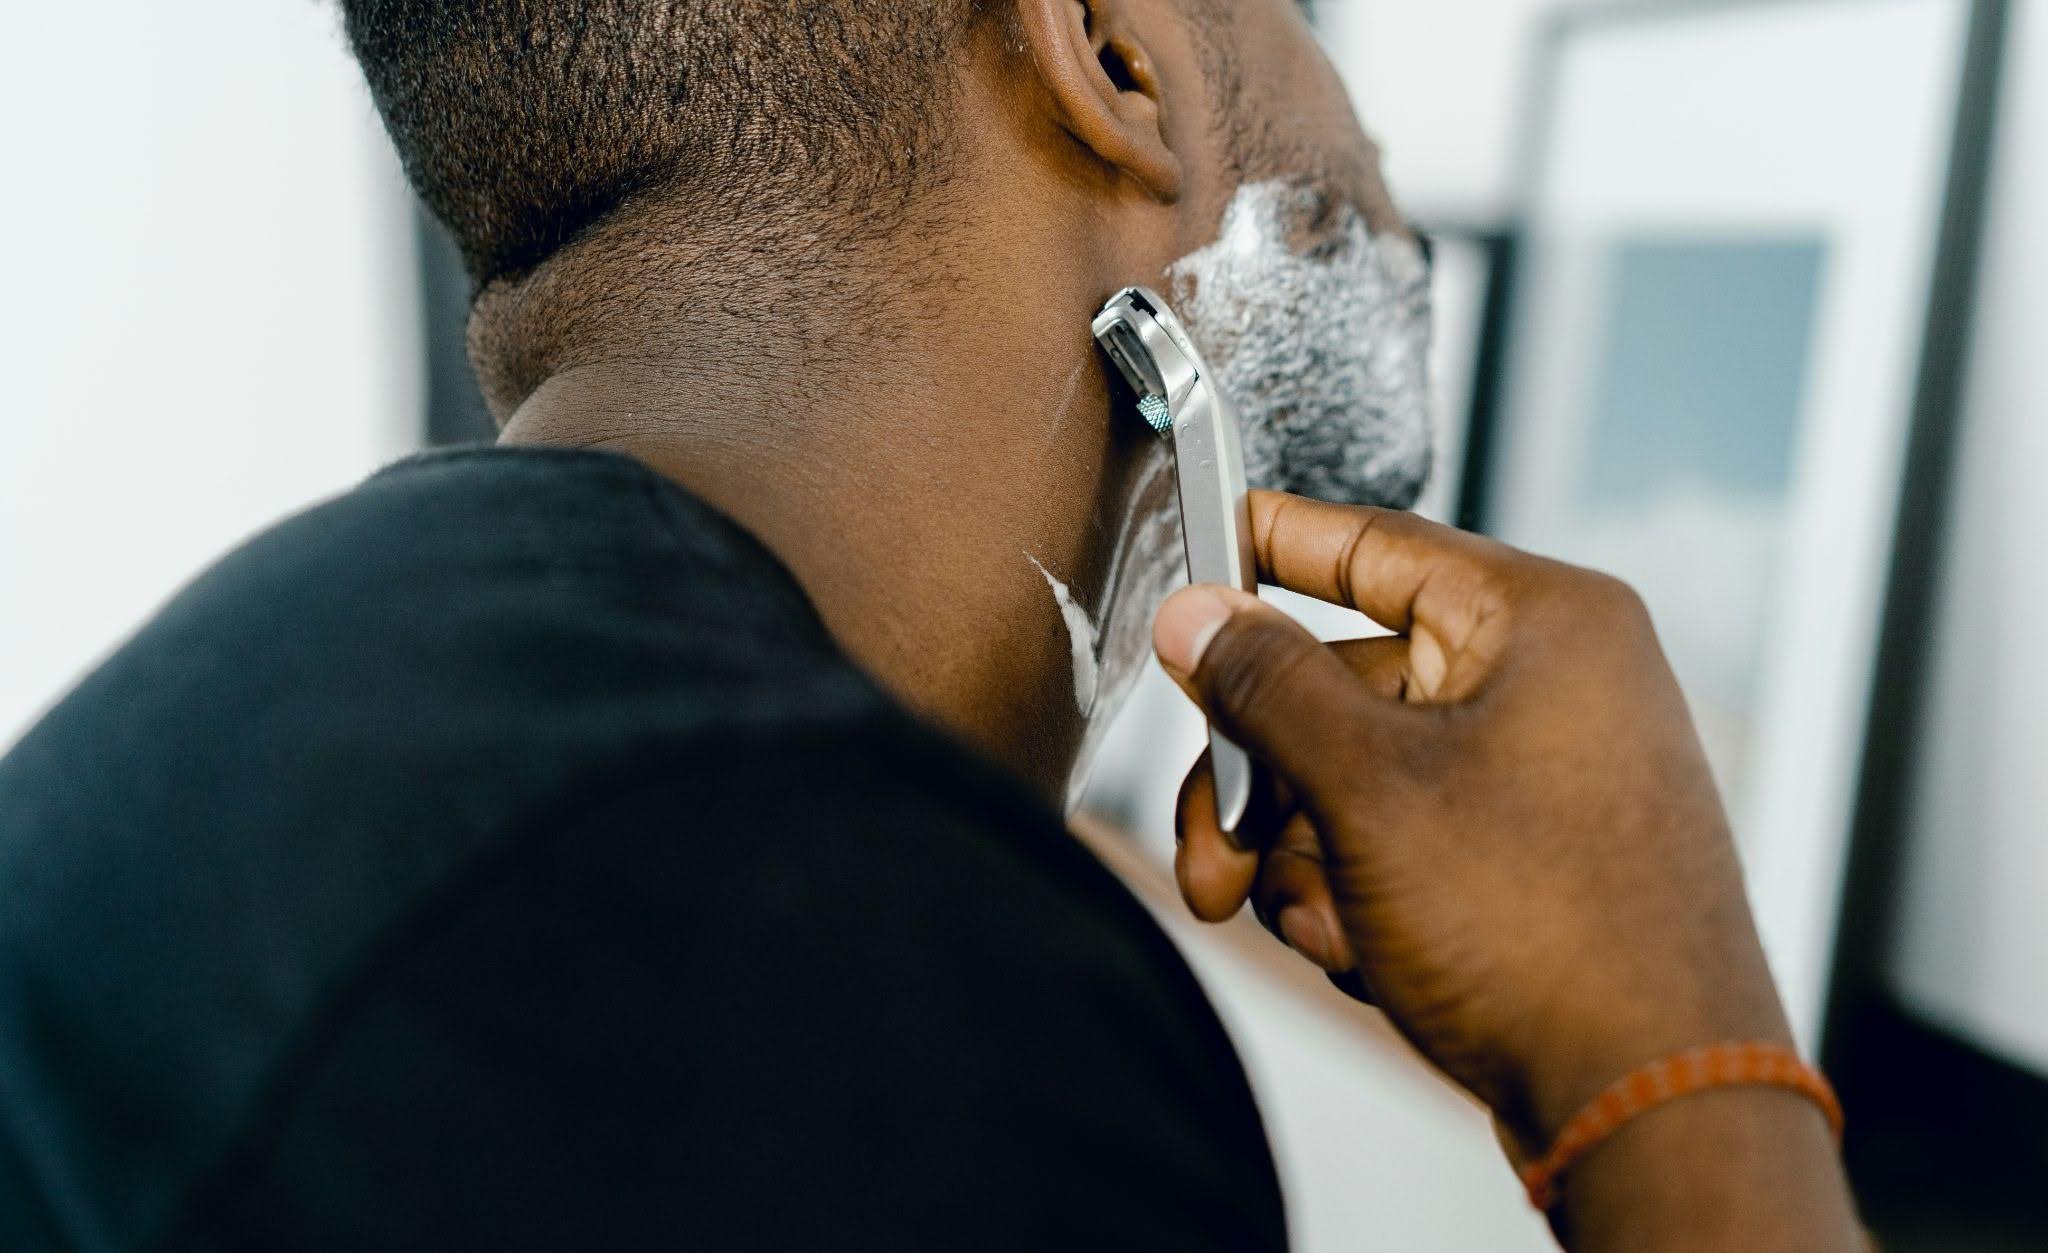
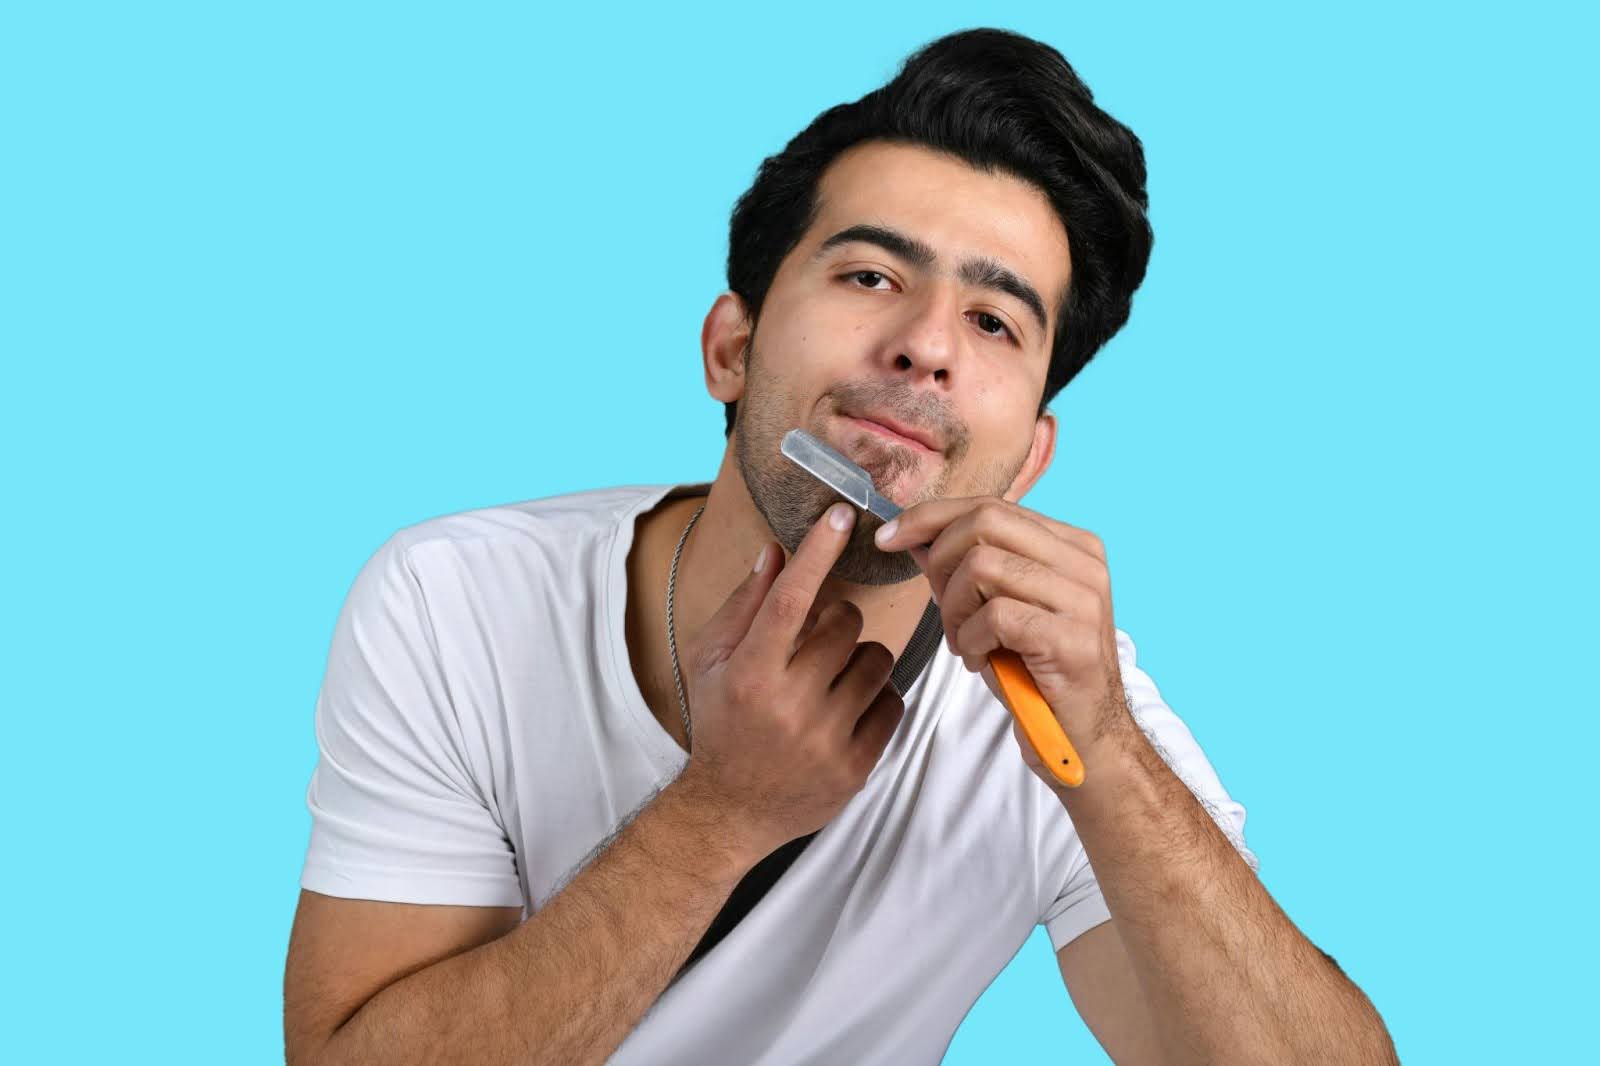
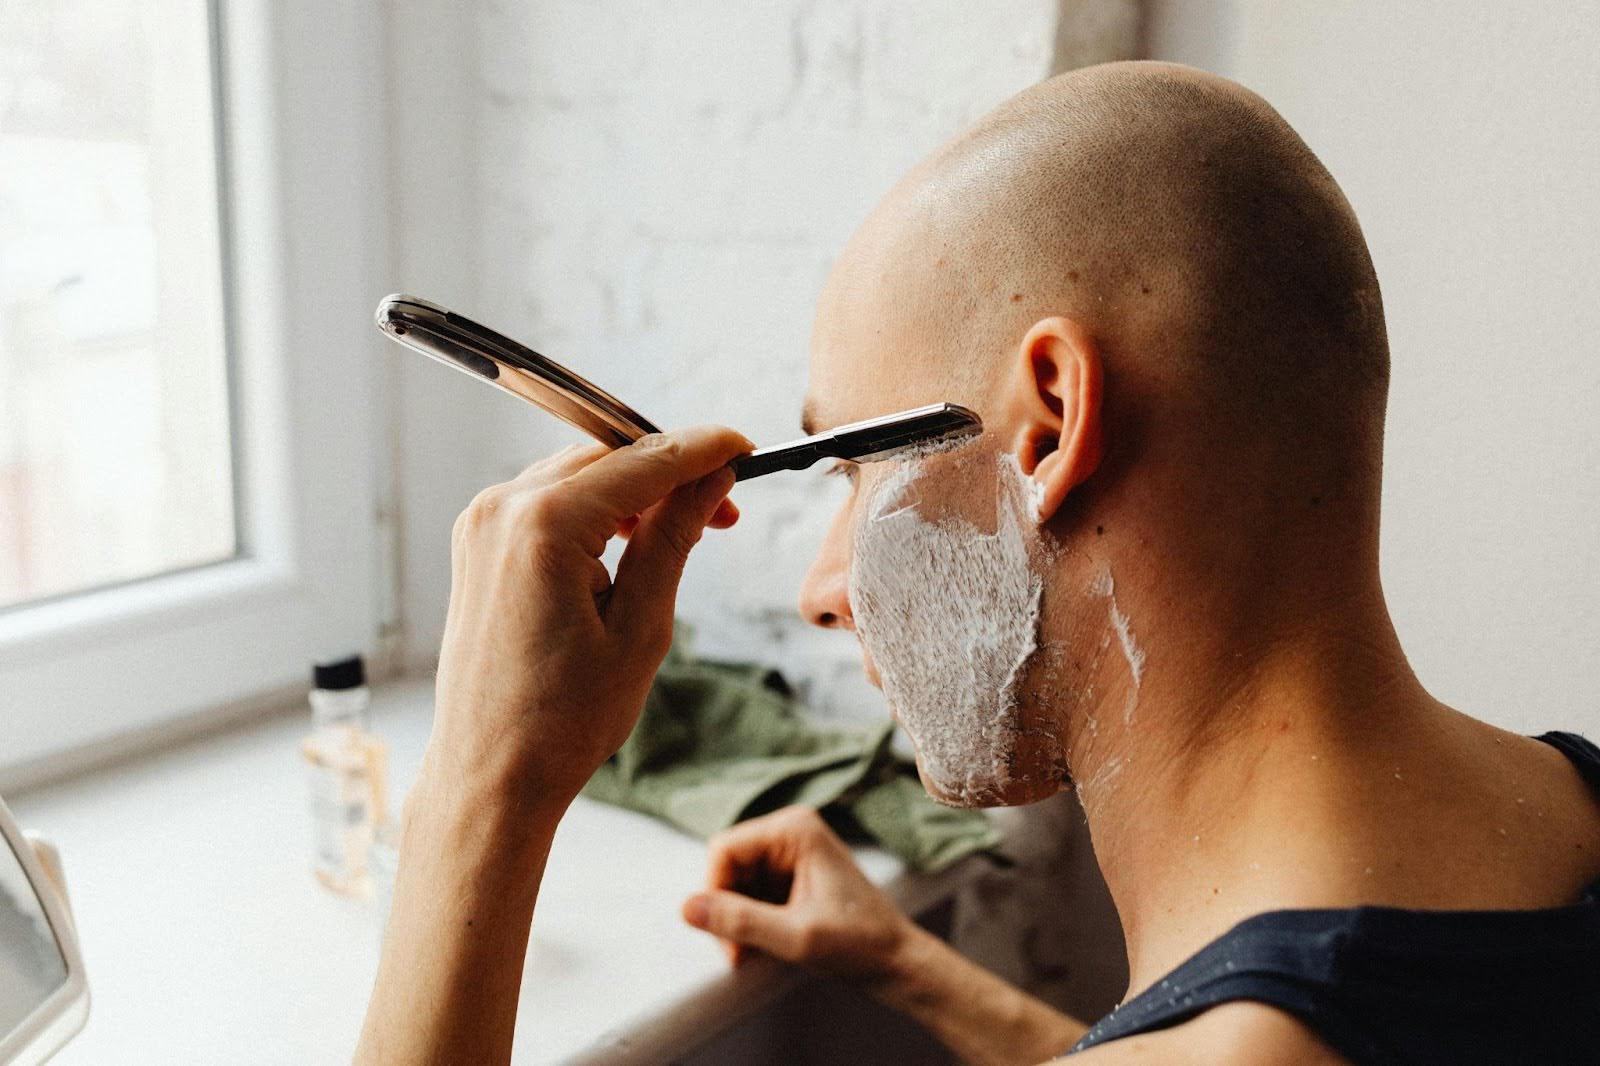
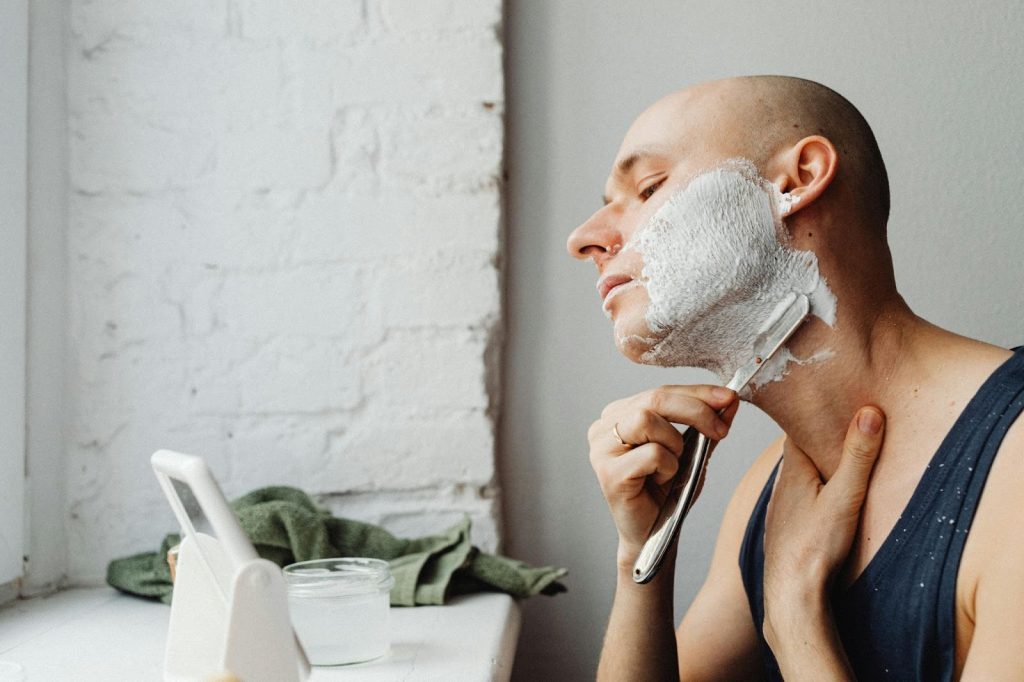
Step 7: Change the Shaving Routine That Caused the Problem
If you only treat the bumps but keep using the same shaving routine, the problem may return quickly. Once the skin improves, it is important to make changes that reduce future irritation.
Shave with the grain instead of against it. Use a clean, sharp razor. Apply shaving cream or gel to reduce friction. Use light pressure and avoid repeated passes over the same area. These changes can make a major difference in preventing new razor bumps from forming.
Step 8: Give the Skin Time to Recover Between Shaves
Frequent shaving can keep the skin in a constant cycle of irritation. If possible, allow more time between shaves so the skin can heal properly. This may not always be realistic, especially for people who must stay clean-shaven for work, but even a small reduction in frequency can help.
When shaving is unavoidable, careful technique becomes even more important.
Step 9: Watch for Signs That the Problem Is More Serious
Sometimes, razor bumps are more than a mild cosmetic issue. If the bumps are painful, swollen, filled with pus, or leave scars or dark marks, the irritation may be more severe. Recurrent razor bumps may also point to a pattern that needs more targeted treatment.
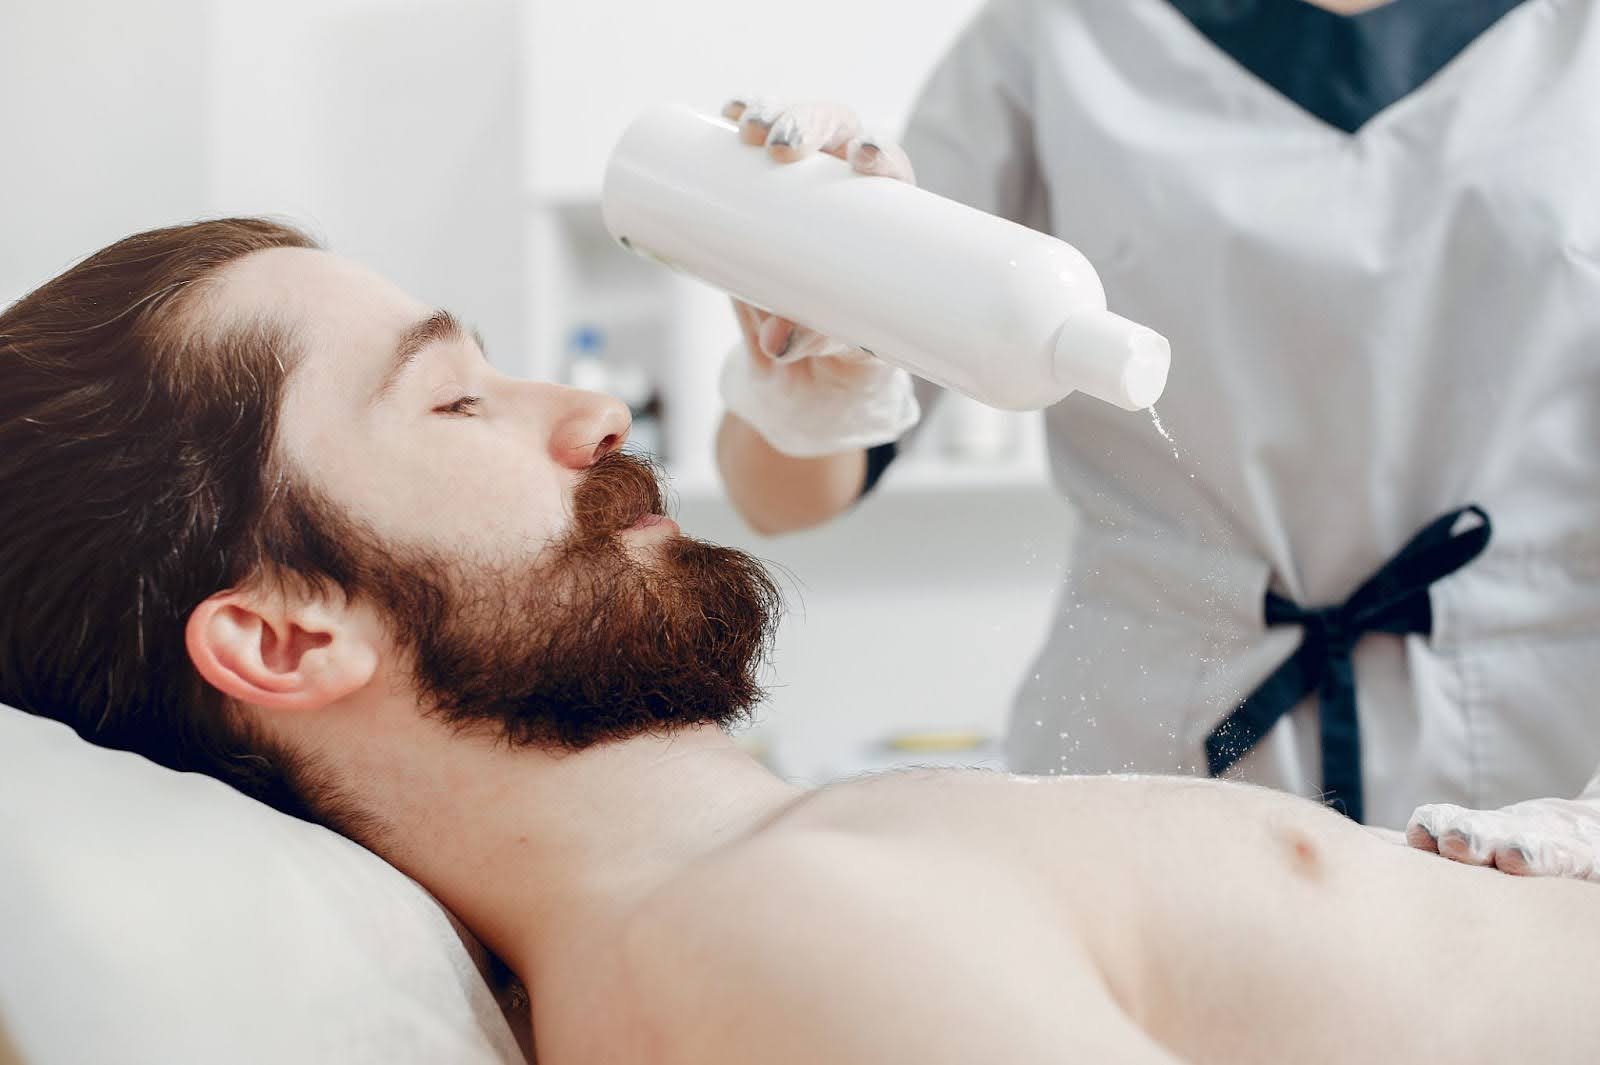
If home care is not helping, seeking medical guidance may be the next step. Persistent razor bumps can sometimes require a more personalized approach, including a medical shaving waiver, professional treatments, or permanent solutions, especially when they interfere with daily comfort or appearance.
Final Thoughts
If you want to know how to get rid of razor bumps, start with the basics: stop further irritation, cleanse gently, soothe the skin, and avoid picking at the bumps. Then focus on preventing the same issue from coming back by improving your shaving routine.
Razor bumps often respond well to patience, gentle care, and better technique. While they can be stubborn, many people see meaningful improvement when they treat the skin more carefully and make small but consistent changes to how they shave.
Take Action Today
Tired of dealing with razor bumps? It’s time to experience the benefits of military-grade shaving waivers and medical-grade treatments to prevent and eliminate razor bumps for good. Plus, explore our permanent laser solutions for lasting results.
Contact us and say goodbye to razor bumps today!